On an iPhone, the useful question is not simply “how do I get an MP3?” It is how to save audio you are allowed to use, choose an option that is genuinely offered for that source, and reliably locate the finished file. The workflow is straightforward once you separate the website task from Safari's transfer and the Files app's storage location.
Use this guide only for audio you own, have express permission to save, is public domain, or is otherwise lawfully available for your intended purpose. It does not give permission for third-party recordings and does not explain ways around DRM, paywalls, account requirements, private material, regional controls, or platform safeguards.
Start with rights and the original public source
Before you copy a link, establish why you may save the audio. Common legitimate examples include your own upload, a creator-approved asset, a public-domain recording, or an organisation's media you are authorised to archive. Keep any permission record where it belongs; a URL alone does not create reuse rights.
Open the original source normally in Safari. It should be public and available in your current context. If it asks for access you do not have, has been removed, or is private, stop and use the owner's permitted sharing method instead. Beginning with the original page also helps you confirm the title and prevents a similar-looking re-upload from becoming the wrong source.
Copy a complete link in Safari
Use the Share button or the address bar to copy the full URL. A title, a partial address copied from a message, or a link with missing characters may not analyse correctly. Paste the address into a note temporarily if you need to compare it with what you submit.
On an iPhone, avoid switching among many tabs while you are still checking the source. You want to know which page produced the file request and whether it is still available. For a series of authorised recordings, give each link a meaningful label in your own notes so that a later file is not mistaken for another episode or revision.
Open the tool and analyse what is actually available
With a permitted, public link ready, open the service in Safari and paste it into the analysis field. Wait for the result rather than assuming that every source will provide the same list of audio types, qualities, languages, or sizes. The shown choices are the only choices you should treat as available for that specific source.
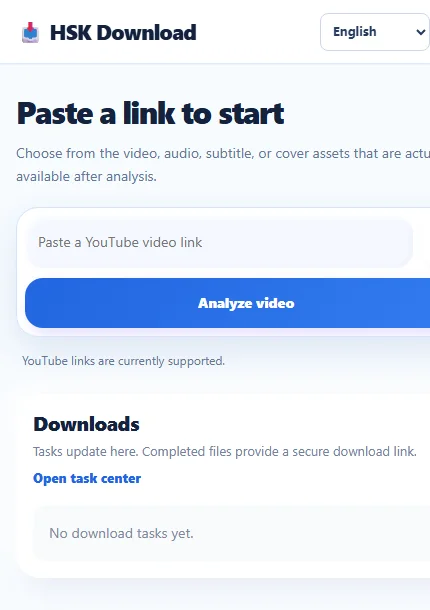
An audio option is for sound; it is not a video file with the picture hidden. Read the displayed label and size before choosing. A spoken lesson may not need the same file size as a music track, while an archival recording may have its own quality requirement. Pick the available option that fits your lawful purpose instead of treating a search phrase as a guarantee.
Choose an audio option deliberately
Review the format, quality indication, and approximate size where the page provides them. Smaller files are easier to store and transfer; higher-quality audio can matter when listening conditions or source material warrant it. Neither is universally better. The right choice is the available one that is practical for your device and intended listening.
If the page does not show the option you expected, do not alter the source link or seek a workaround. Return to the creator, rights holder, or original platform if you need a different authorised version. A missing option is information about what the source currently exposes, not a problem to force past.
Create one task and watch its state
After confirming your selection, create one task and let it progress. A queued state means it is waiting; a processing state means preparation has begun; a completed state means a file action is ready. Large sources and busy periods can take longer than a short clip. Starting several identical tasks rarely makes the first one finish sooner and makes it harder to identify the correct file.
Keep the task page open until you understand its final state. If it fails, record the message, reopen the original source, and verify that it remains public and that the selected option was actually listed. If a file link later expires, repeat those permission and availability checks before creating a new task.
Save the completed file through Safari
When the task provides its file action, use it and watch Safari's download indicator. iPhone transfers are separate from the website task: a task can be complete while the browser file is still downloading. Wait for the browser indicator to finish before moving, sharing, or testing the item.
The desktop view below illustrates the same sequence of link, analysis, choice, task, and file action. On iPhone, Safari and Files replace the desktop download folder, but the checkpoints remain the same.
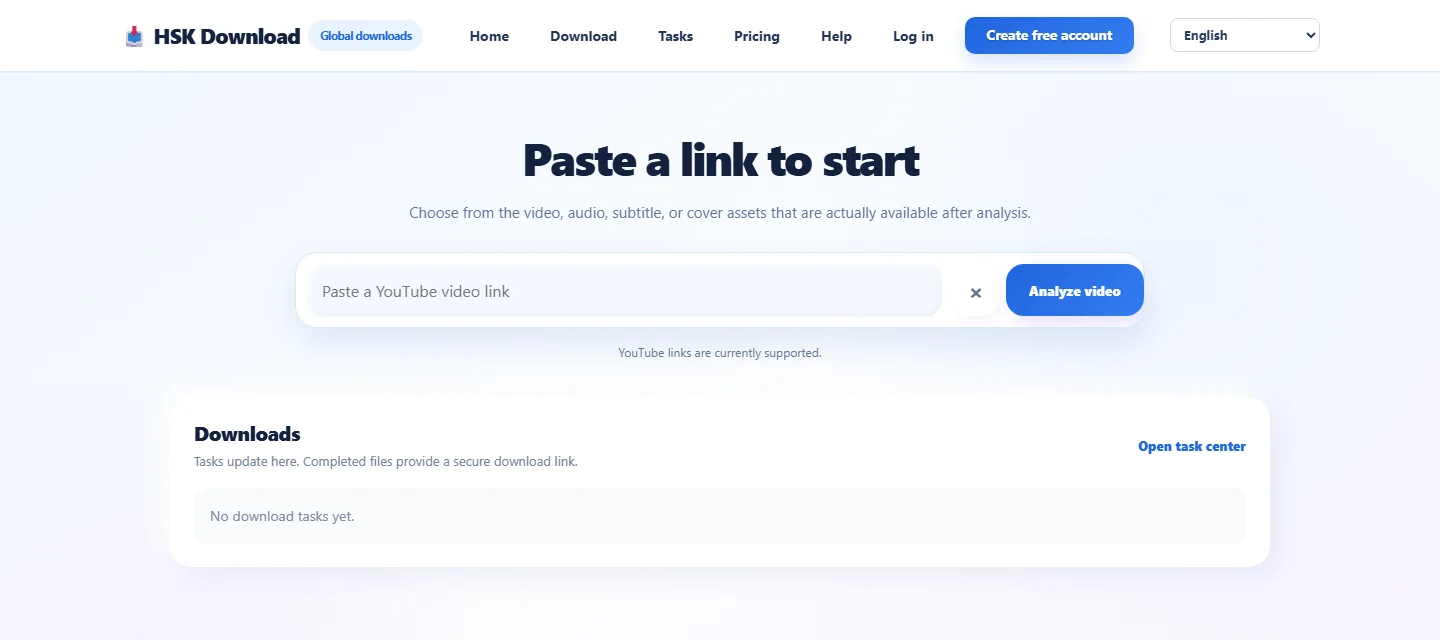
If Safari asks where to save or offers a Files sheet, choose a location you will recognise later. A folder named for an approved project, course, or recording series is usually more useful than leaving everything in a generic download pile. Do not close the transfer early merely because the website page has changed state.
Find the audio file in the Files app
Open Files after Safari finishes. Start with Browse, then check the location you selected: On My iPhone, iCloud Drive, or another approved provider. The Downloads folder is common, but the actual destination selected during saving is authoritative. Use Recents only as a shortcut; verify the folder before deciding a file is missing.
Sort by date or use the search field with part of the filename. Tap the file once to preview or play it. If you save a number of authorised items, move them after the transfer completes into a clear folder structure such as Project / Source / Date. Wait for a cloud provider's sync symbol to finish before assuming another device can access the copy.
Check playback without changing the file
First test the file from Files. If it plays, the transfer and basic file association are working. If it will not play, confirm the transfer was complete and compare the chosen task option with the file you opened. Some apps support different audio types differently, so test a compatible player if your normal app does not recognise it.
Do not rename a file extension to make it resemble another audio type. Renaming changes the label, not the encoded contents, and can obscure the real issue. Likewise, a zero-length or unusually small item may indicate an incomplete browser transfer, not a sound-quality choice. Recheck the download indicator and available storage before retrying.
Manage iPhone storage and cloud copies
Audio can consume more storage than expected, especially when several long recordings are kept both locally and in cloud storage. Check Settings, General, iPhone Storage before starting a large authorised transfer. Leave room for Safari to finish the download and for Files or a cloud provider to make its copy.
Decide whether the file should stay On My iPhone, in iCloud Drive, or in an organisation-approved location. Local storage can be convenient offline; a synced folder can help with an authorised backup. Your choice should follow the content owner's terms and any work or school data policy. Remove only files you no longer need, and verify a backup before clearing a local copy.
Know the difference between a file and permission
A completed file is not a blanket licence to publish, share, edit, or redistribute it. Keep the source, permission, and intended use together in your records. For example, a creator may allow you to save a review copy but not repost it. If a colleague needs access, use the approved sharing path rather than sending files through an unapproved service.
This distinction also improves troubleshooting. If a source becomes restricted, do not look for a technical detour. Contact the owner, use the platform's allowed feature, or request a fresh authorised copy. The cleanest workflow is one that remains valid when someone later asks where the audio came from.
Use this iPhone checklist every time
Confirm rights; open the original public source; copy the complete link; inspect the choices the service actually displays; select one suitable audio option; monitor a single task; wait for Safari's transfer; locate the file in Files; then test it with a compatible player. With an authorised public link ready, you can open the HSK Download tool.
The checklist keeps the points of failure separate. It shows whether a problem is the source, an unavailable option, a task state, Safari's transfer, the Files location, storage, or playback. That is far more reliable than repeatedly retrying without knowing which stage needs attention.
Frequently asked questions
Where do authorised audio files go on iPhone?
Safari commonly passes completed files to Files. Check Safari's download list first, then inspect the destination you selected, such as Downloads, On My iPhone, or iCloud Drive.
Why is an MP3 option not shown?
Use only the choices displayed for that public source. Options can differ by source and lawful availability; an expected label is not guaranteed for every link.
Can I save audio from any YouTube video?
No. Save only material you own, are authorised to use, is public domain, or is otherwise lawfully available for your purpose.
Why will my saved audio not play?
Make sure the browser transfer finished, open the file from Files, and test a compatible app. Do not rename the extension as if that converts the file.
How do I free space before saving audio?
Review iPhone Storage and the destination folder, remove only unneeded items, and leave room for both the download and any cloud sync.
What should I do when a completed link expires?
Return to the original authorised public source, confirm its availability and your permission, then make a new task if that remains appropriate.